Change Android Package Name
The provided documentation outlines the steps to manually change the Android package name for a Flutter application.
Here's a summary of the process:
CHANGE ANDROID PACKAGE NAME MANUALLY
-
Update
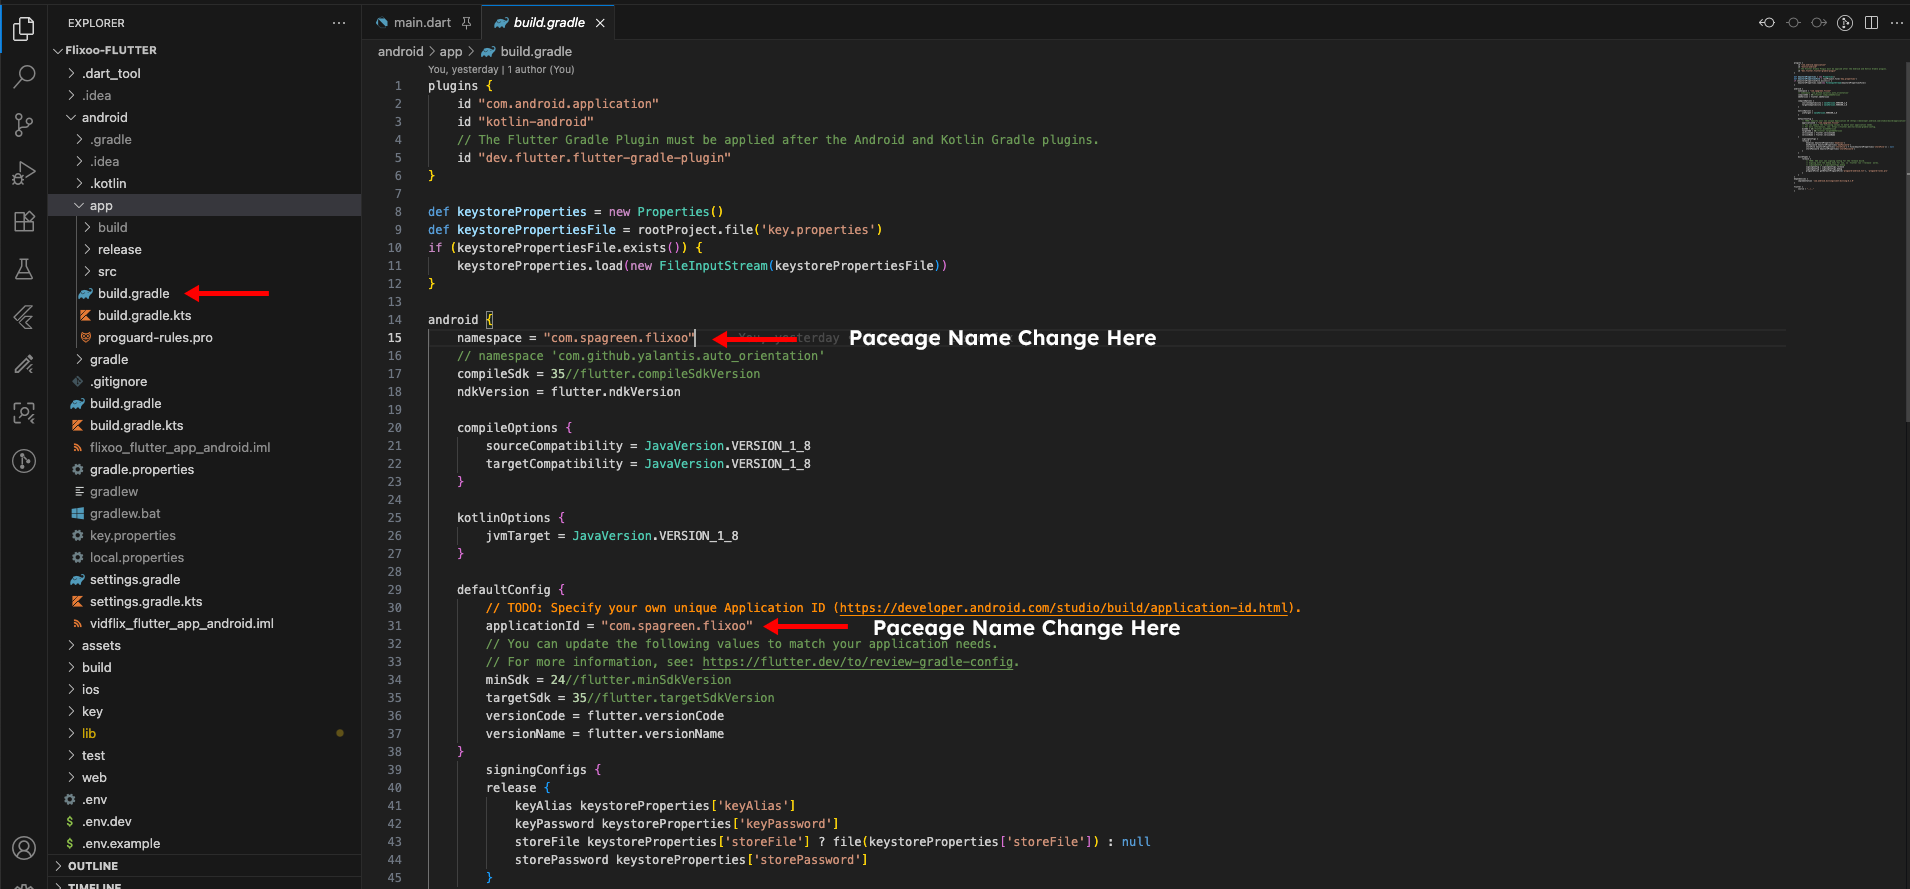
build.gradle:- Open
android/app/build.gradle. - Change the
applicationIdin thedefaultConfigblock to your new package name.
- Open
-
Update
AndroidManifest.xml:- Update the
packageattribute in the<manifest>tag in the following three files:android/app/src/main/AndroidManifest.xmlandroid/app/src/debug/AndroidManifest.xmlandroid/app/src/profile/AndroidManifest.xml
- In
android/app/src/main/AndroidManifest.xml, ensure theandroid:nameattribute in the<activity>tag is correct (it should be".MainActivity").
- Update the
-
Update
MainActivity.kt(orMainActivity.java):- Navigate to
android/app/src/main/kotlin(orandroid/app/src/main/java). - Rename the directory structure to reflect your new package name (e.g., if the new package is
com.yourcompany.yourapp, the directory structure should becom/yourcompany/yourapp). - Open
MainActivity.kt(orMainActivity.java). - Update the
packagedeclaration at the top of the file to your new package name.
- Navigate to
-
Clean and Rebuild:
- In your terminal, run
flutter clean. - Then, run
flutter runto rebuild your app with the new package name.

- In your terminal, run